
One morning, the light strip of your bathroom mirror flickers and then goes out on one side. The reflex would be to replace the entire mirror, but in most cases, you can intervene only on the LED module. However, you need to know what type of mirror you have in front of you, as the procedure varies greatly depending on whether the module is replaceable or soldered to the structure.
Replaceable or integrated LED module: what your mirror requires
Before touching anything, turn the mirror over (or consult its manual) to identify the configuration. Two main categories coexist on the market.
Mirrors with a replaceable LED module use a removable connector between the LED strip or chip and the transformer. You unplug, replace, and replug. The European Ecodesign Regulation (EU) 2024/1781 explicitly distinguishes these user-replaceable modules from non-replaceable integrated modules, which has prompted some manufacturers to facilitate access.
Integrated LED mirrors, on the other hand, have their diodes soldered directly onto a printed circuit board glued to the back of the glass. Here, we are no longer talking about “changing a bulb” but replacing an entire LED strip by desoldering or peeling it off. It is feasible, but the risk of damaging the mirror or the sealing of the housing is real. If your mirror is still under warranty, it is better to contact the manufacturer before opening anything.
To know how to reliably change the LED bulb of the bathroom mirror, this distinction is the mandatory starting point: a mirror with a removable module can be repaired in twenty minutes, while a mirror with soldered LEDs may require half a day and a soldering iron.

Electrical safety in the bathroom: volumes and voltage before any intervention
You do not handle a bathroom light fixture like a living room lamp. The NF C 15-100 standard divides the room into safety volumes, and your LED mirror likely falls into one of them.
- In volumes 0 and 1 (in and just above the bathtub or shower), only Very Low Voltage Safety (TBTS 12 V) lighting with a remote transformer is allowed.
- In volume 2 (a 60 cm band around the bathtub or shower), Class II devices with a minimum protection rating of IPX4 (IP44) are permitted.
- Beyond volume 2, the constraints lighten, but turning off the circuit breaker dedicated to the bathroom remains the first action to take, without exception.
If your mirror is in volume 0 or 1, it operates at 12 V. The transformer is often located outside the volume, behind a partition or in a false ceiling. Do not move it into the volume to “facilitate access”: you would be violating regulatory compliance.
Disassembling and replacing the LED module step by step
We assume here a mirror with a replaceable module, fixed to the wall in volume 2 or outside of it. Necessary equipment: a Phillips screwdriver, a multimeter, insulating gloves, and the exact reference of the replacement module (written on the label on the back of the mirror or on the module itself).
Cut off the power and check for voltage absence
Turn off the circuit breaker corresponding to the bathroom circuit. With the multimeter, check that there is no voltage at the terminals of the transformer or the LED connector. Never rely solely on the switch: a wiring fault can allow current to pass even when the switch is off.
Access the LED module
On most wall mirrors, the technical housing is located at the back, held by screws or clips. Carefully remove the back cover. If the mirror is glued to the wall without mechanical fixation, it will need to be completely unhooked, which often requires two people to avoid breakage.
Locate the connector between the LED module and the driver (transformer). It is a small plug with two or three pins, sometimes locked by a clip. Disconnect it by pulling on the connector, never on the cable.
Install the new module
Connect the new module to the driver. Before closing everything up, reconnect the circuit breaker and test the lighting. Check that the lighting is uniform and that the color temperature meets your expectations. A neutral white around 4,000 K is well-suited for a bathroom mirror, while a warm white (3,000 K) softens features but slightly distorts colors.
If everything works, turn off the circuit breaker again, close the housing, and screw or clip the cover back on.
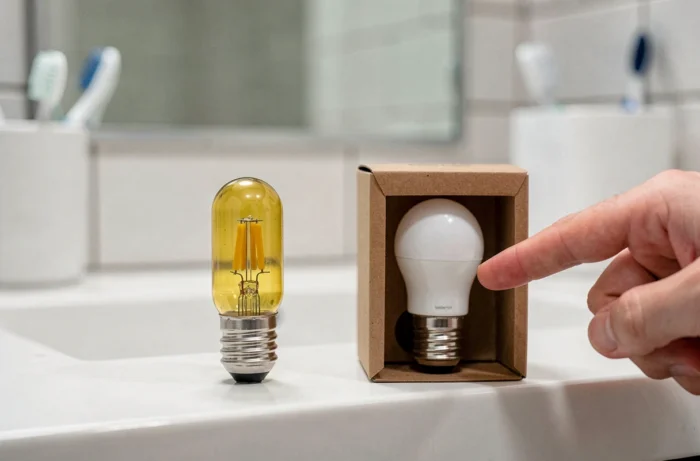
Choosing the right replacement LED module for your mirror
The classic trap: buying a generic LED strip based solely on length. The voltage (12 V or 24 V), type of connector, width of the strip, and number of LEDs per meter must exactly match the original specifications.
- Note the reference of the original module or photograph the technical label before ordering anything.
- Check compatibility with the existing driver: a 12 V driver cannot power a 24 V strip, and vice versa.
- Prefer a protection rating suitable for the location of the mirror (minimum IP44 in volume 2).
- If the original module is no longer marketed, contact the mirror manufacturer: many offer spare parts on demand, even several years after purchase.
Feedback varies on the compatibility of generic LED strips with brand drivers. Some users report perfect operation, while others notice flickering due to power mismatch. Sticking to the same brand and reference remains the most reliable solution.
One last often-overlooked point: after replacement, note the installation date of the new module somewhere (on the back of the mirror, on your phone). LEDs gradually lose intensity long before burning out. Knowing how long the module has been in place allows you to anticipate the next replacement instead of facing a failure one rushed morning.